
Bread Lab • Lessons Learned the Hard Way
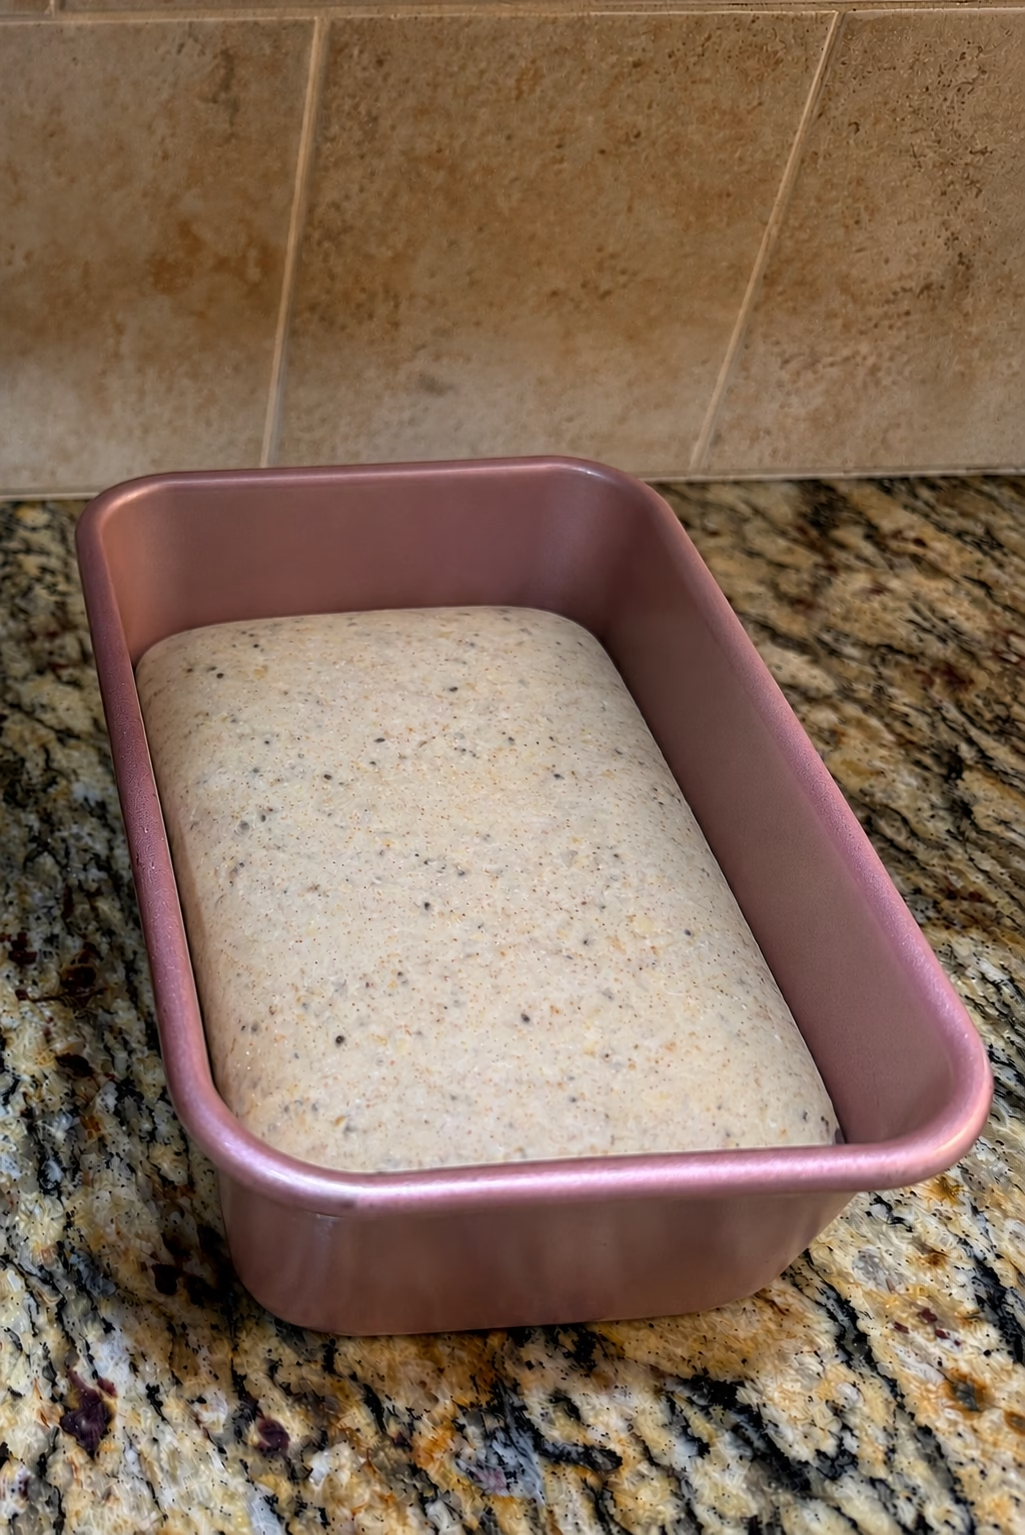
My loaves stayed stubbornly below the pan rim, and after baking they looked more like doorstops than sandwich bread. I was not baking bread—I was making expensive toast.
The Mistake
Every time a loaf did not rise, I assumed I had not used enough yeast. So the next time, I added more.
Still flat.
So I added even more.
Still flat.
Eventually I realized the amount of yeast was not the real problem. I was treating the symptom instead of finding the cause.
What Finally Changed
1. Fresh Yeast Matters
Yeast that has been sitting in the back of a warm cupboard may have lost much of its strength. I buy active dry yeast in bulk, but I keep it refrigerated to help prolong its useful life.
When yeast is questionable, adding a larger amount of tired yeast may simply give you a larger amount of tired yeast.
2. A Tiny Amount of Yeast Can Do a Big Job
This surprised me the most. A poolish or biga prepared the night before can use a very small amount of yeast—often around 1/8 teaspoon for two loaves in my recipes—and still help produce excellent rise.
The overnight fermentation also develops flavor. The drawback is that you must begin the day before, which means the most important ingredient may be patience.
3. Do Not Pile Yeast Directly on Salt
Salt belongs in bread dough, but I avoid placing concentrated yeast directly on top of concentrated salt before mixing. Salt can inhibit yeast activity when the two sit together in direct contact.
Once the ingredients are dispersed throughout the dough, they can work together just fine. The goal is not to ban salt—it is to avoid giving the yeast a salty ambush before the mixing even begins.
4. I Give Active Dry Yeast a Head Start
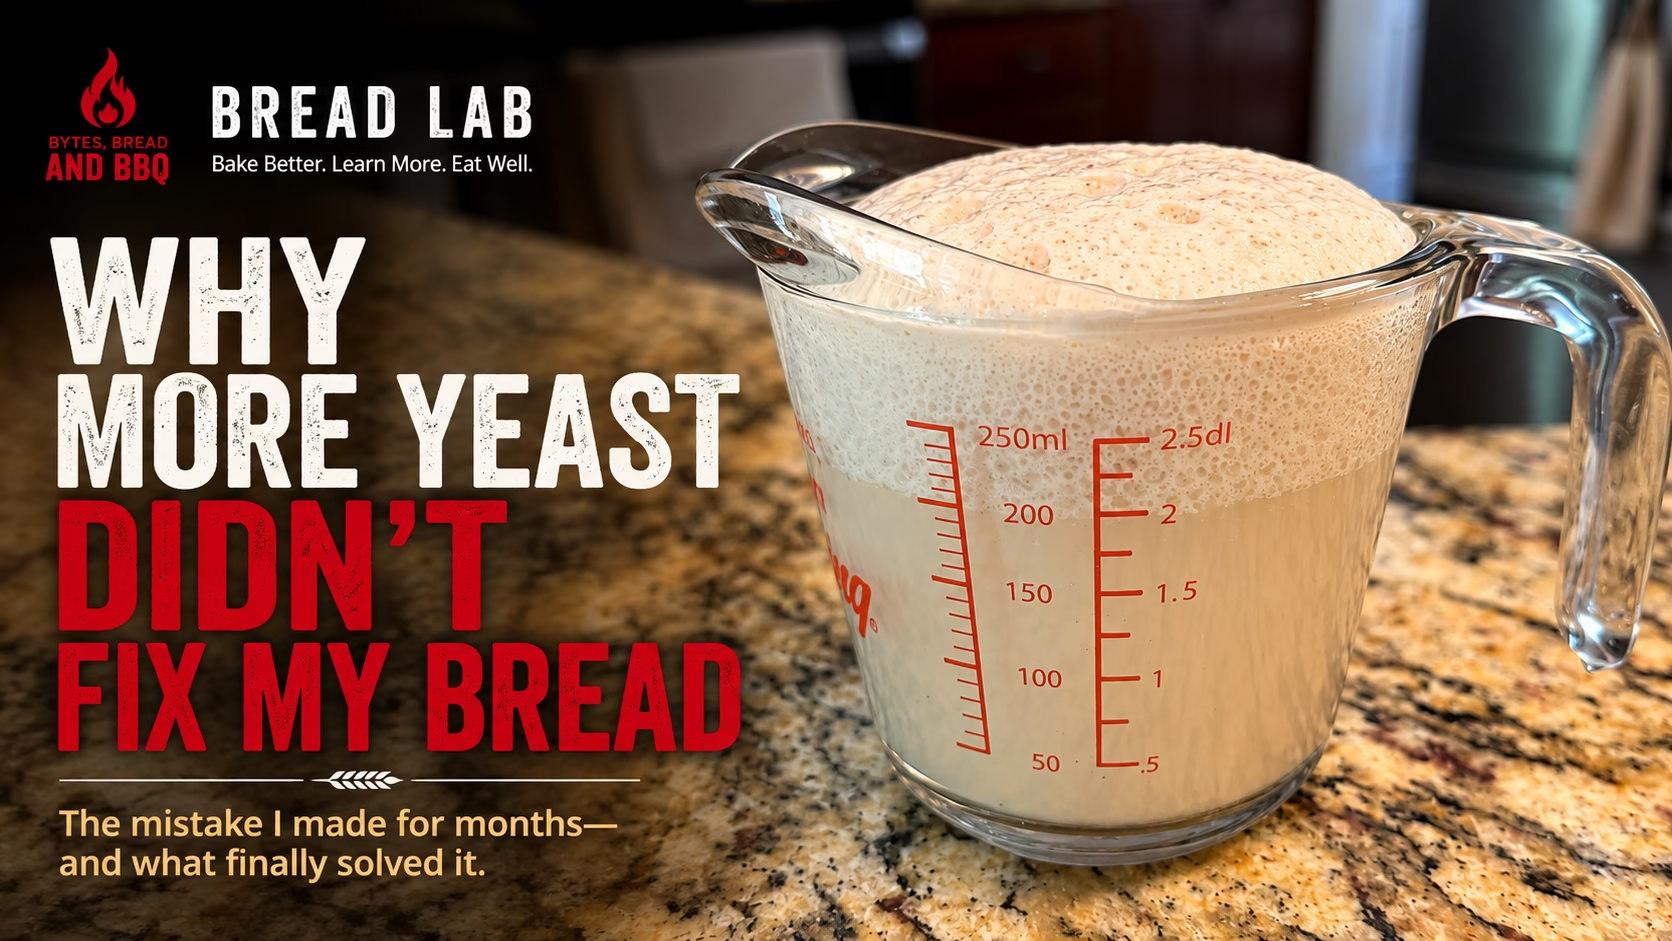
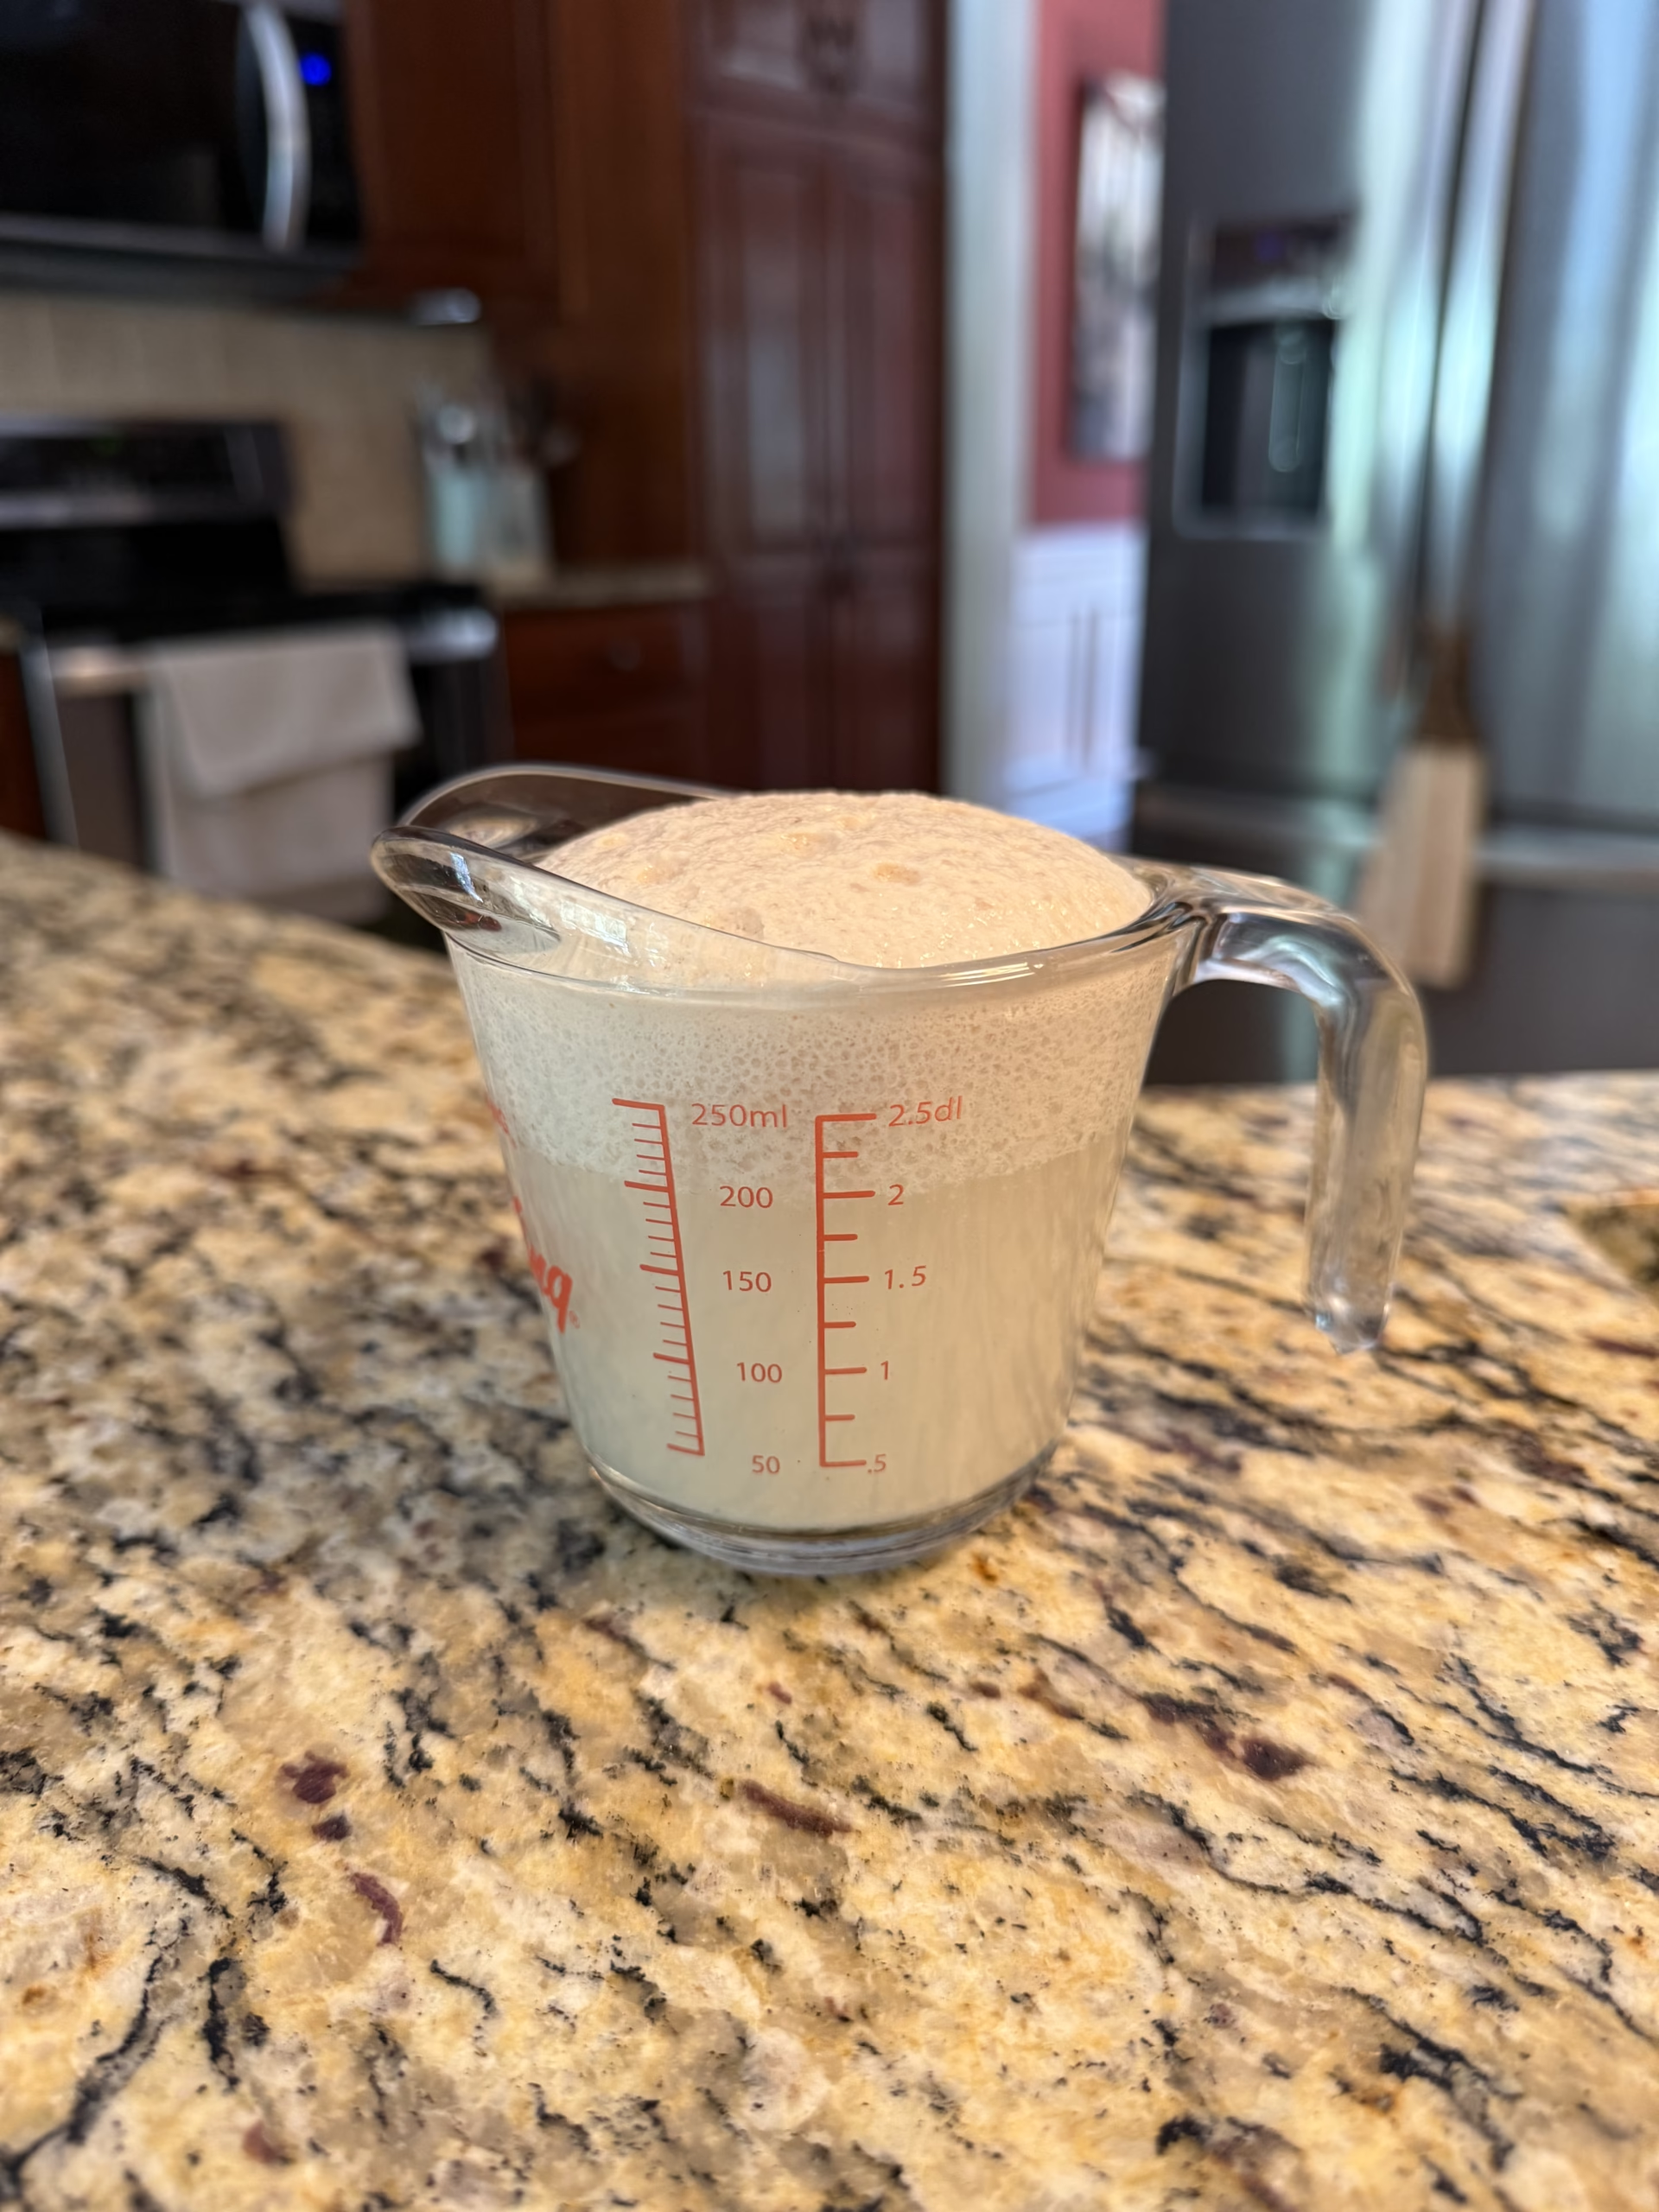
On baking day, I dissolve my active dry yeast in warm water with a little sugar or honey. After about 10 to 15 minutes, it develops a foamy head—almost like a freshly poured beer.
That foam gives me visible confirmation that the yeast is active before I add it to the rest of the ingredients. Since adopting this habit, I have had far fewer disappointing loaves.
What Active Yeast Looks Like
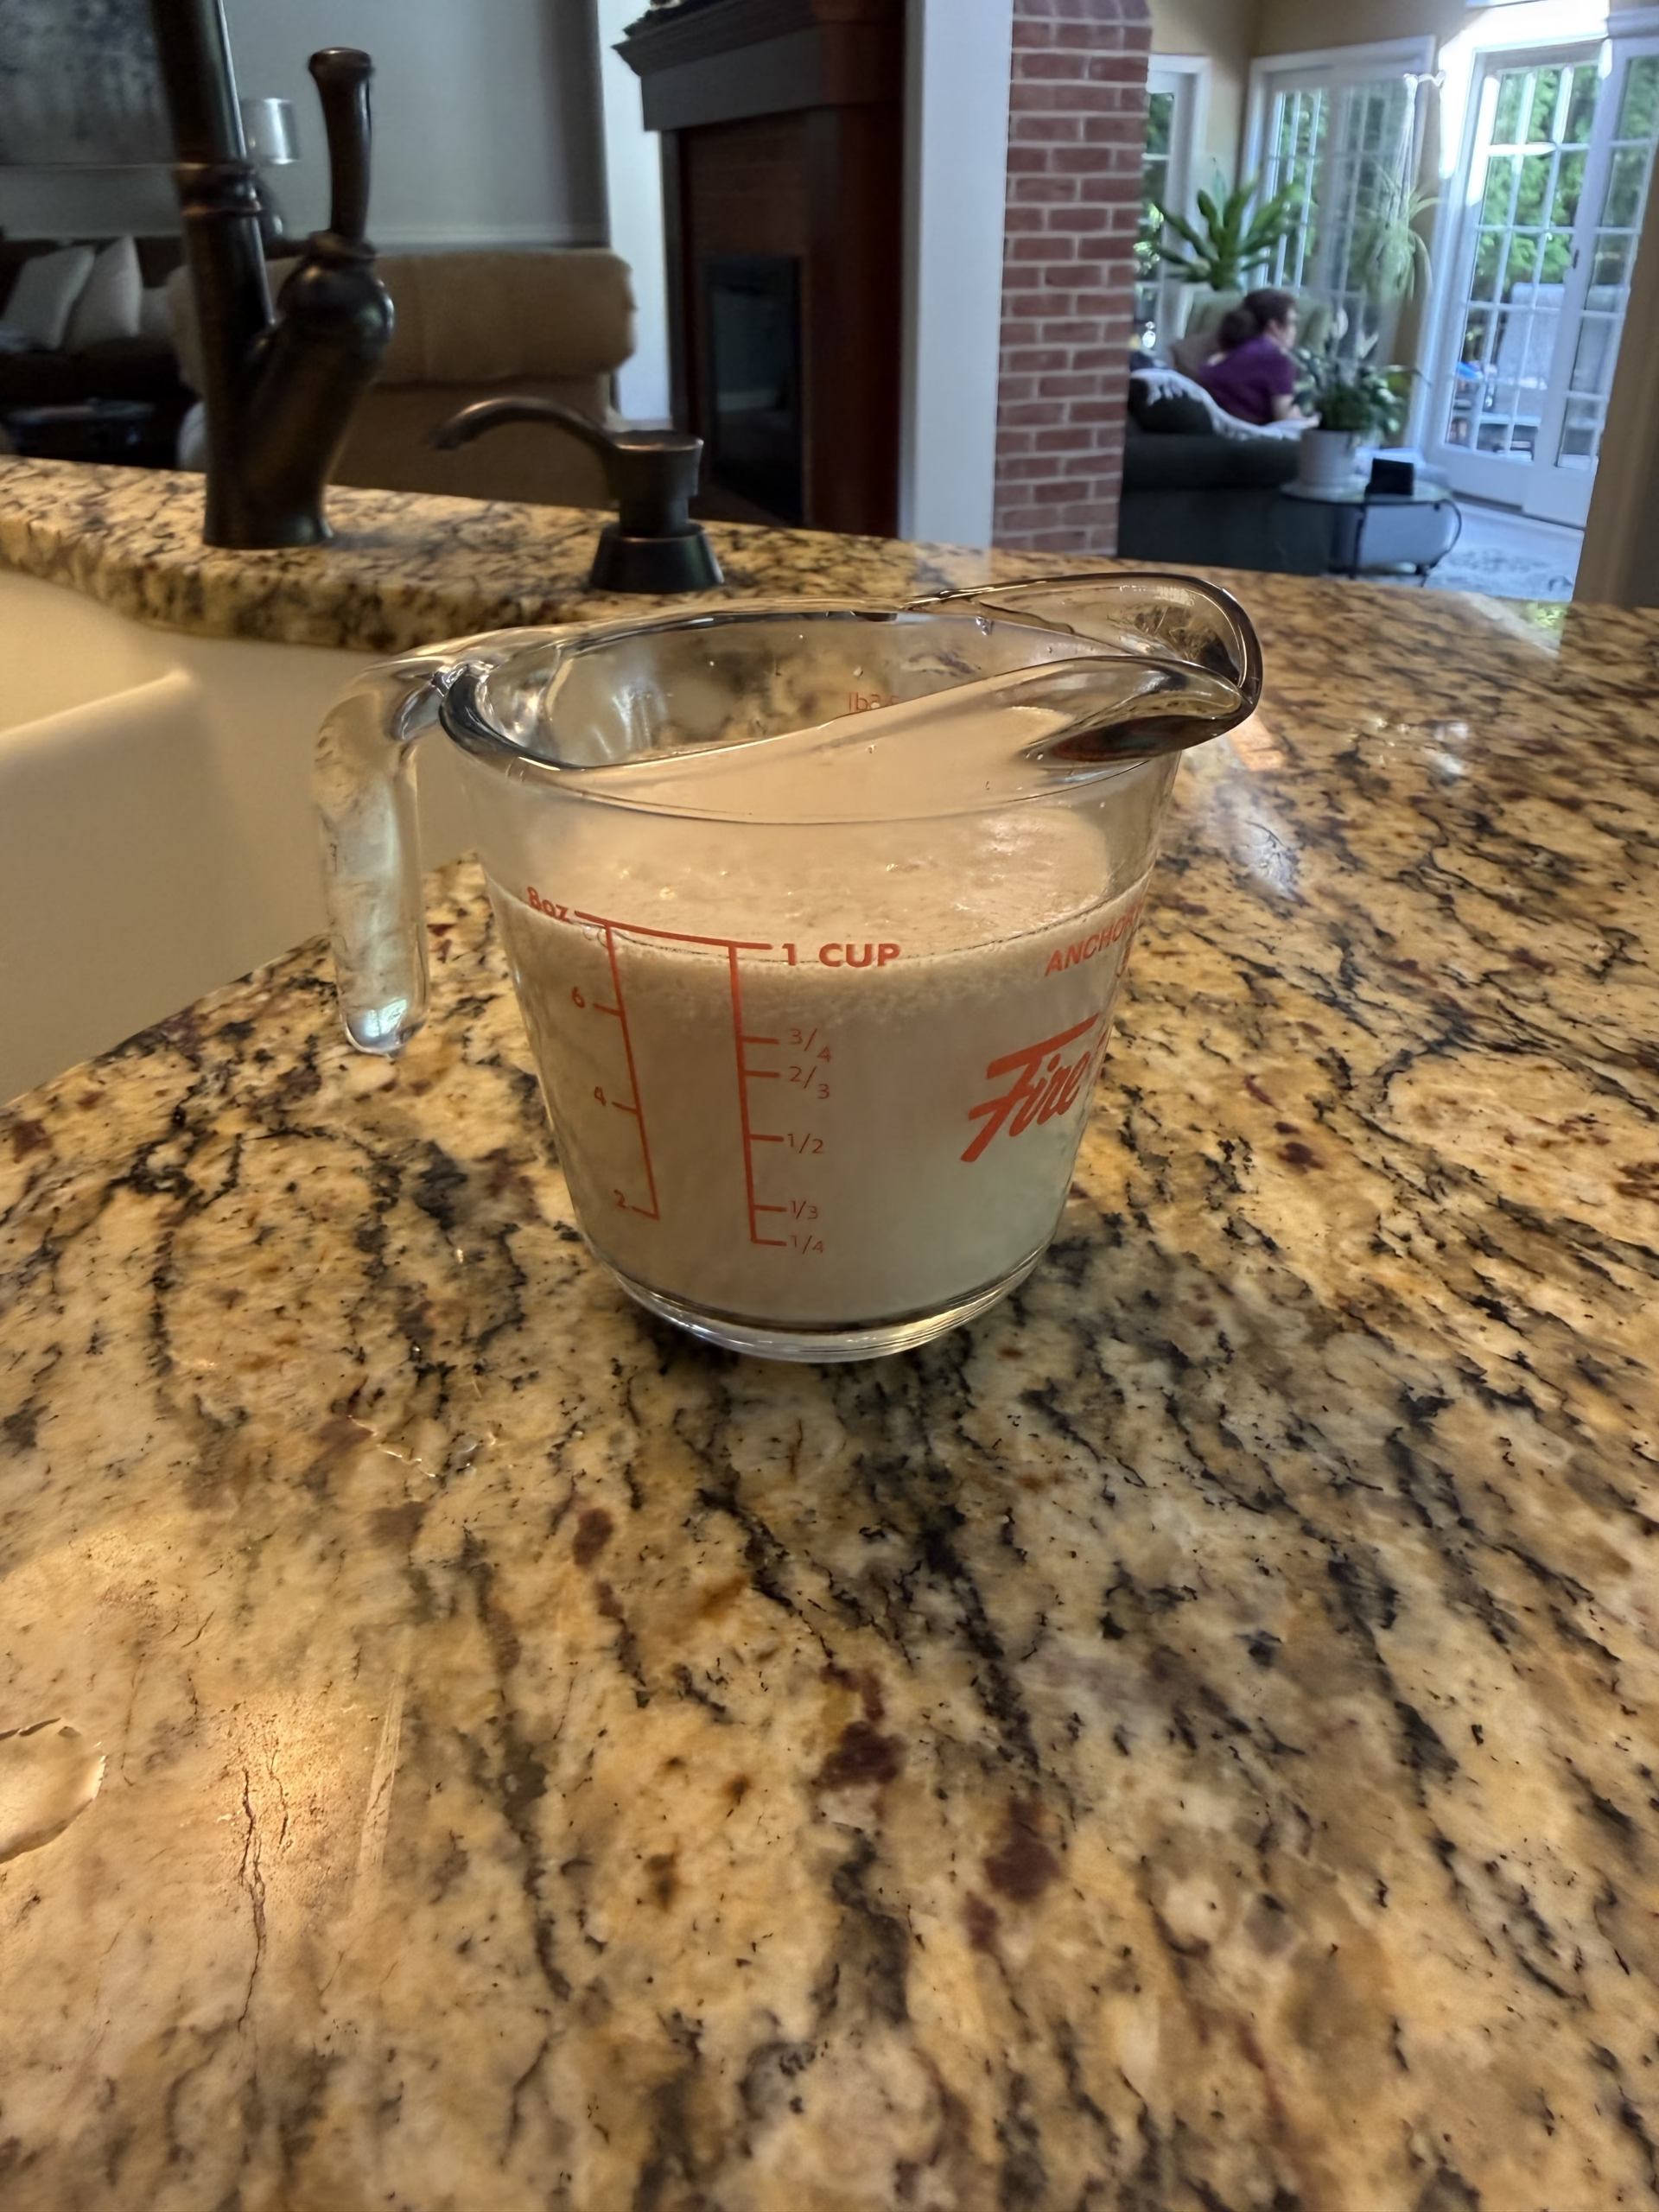
The transformation is easy to see. At first, the mixture looks cloudy with only light activity. Given a little time, it becomes thick and foamy.
The Recipe Says 90 Minutes. Your Dough Did Not Read the Recipe.
A recipe may tell you to let the dough rise for 60 or 90 minutes, but rise time changes with kitchen temperature, dough temperature, flour, humidity, and other conditions.
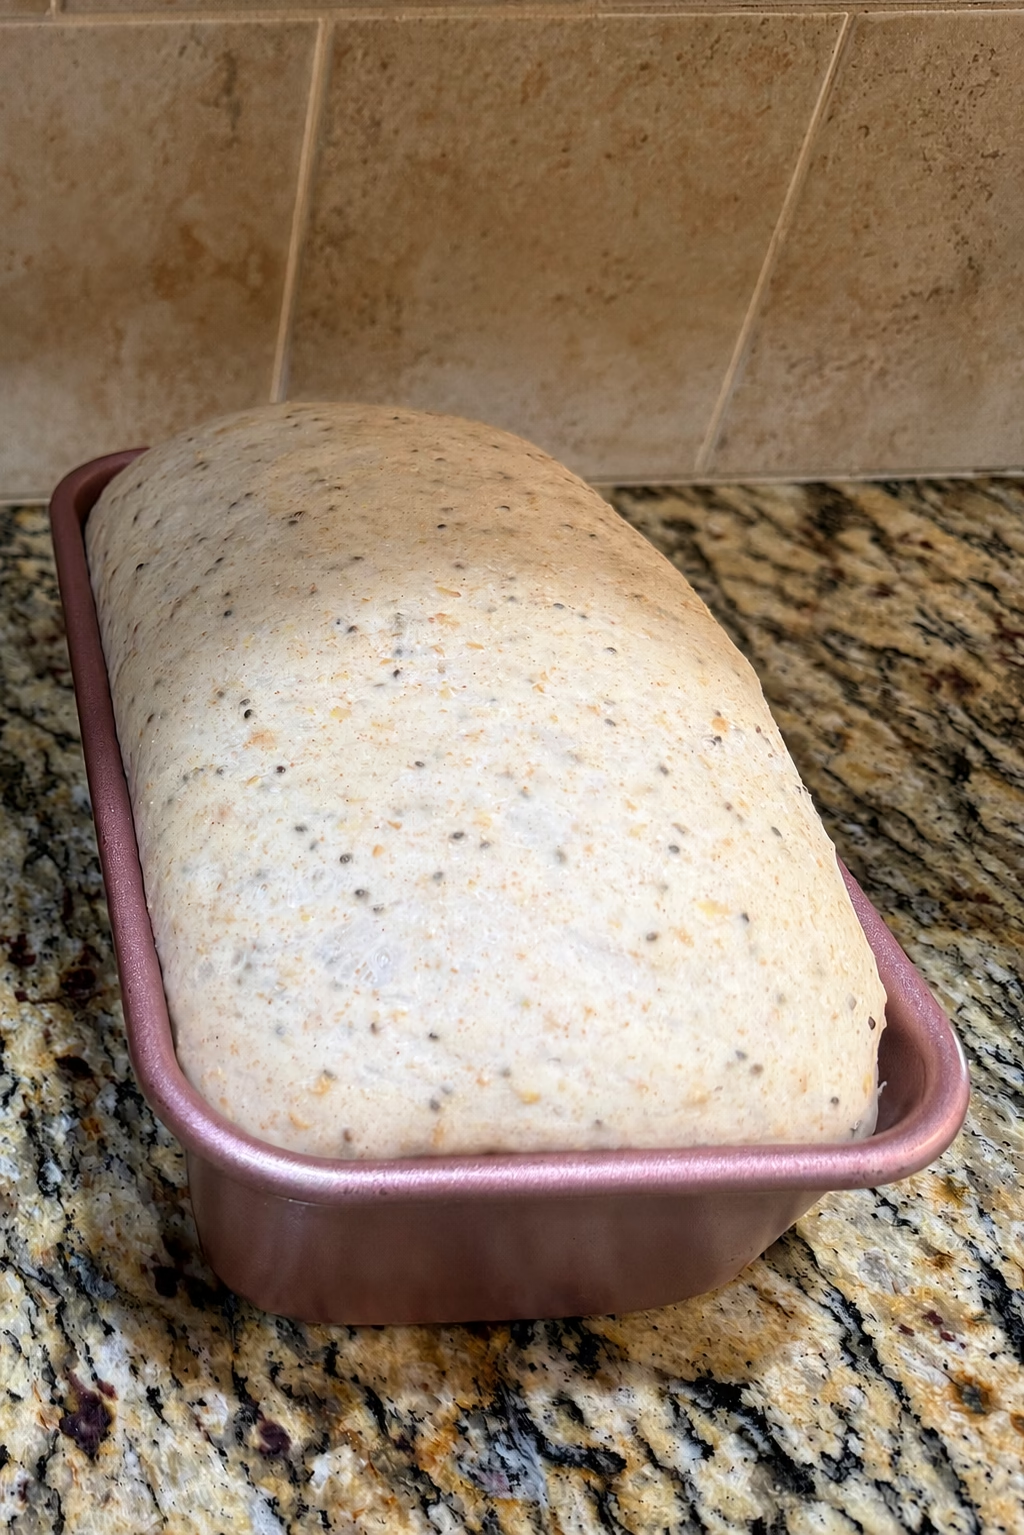
I learned to stop treating the clock like a courtroom order. During the second rise, I wait for the dough to rise above the rim of the pan before placing it in the oven.
Bread Lab Conclusion
One of the biggest lessons I learned is that bread usually rewards patience more than extra ingredients.
Adding more yeast did not solve my problem. Fresh yeast, a preferment, proper proofing, and a little patience made the real difference.
Sometimes the best ingredient is not more yeast. It is another hour.
Bread Lab note: This article describes the techniques that have produced the most reliable results in my kitchen. Instant yeast is commonly designed to be mixed directly with flour, while blooming is especially useful with active dry yeast or when you want to confirm that your yeast is still active.