


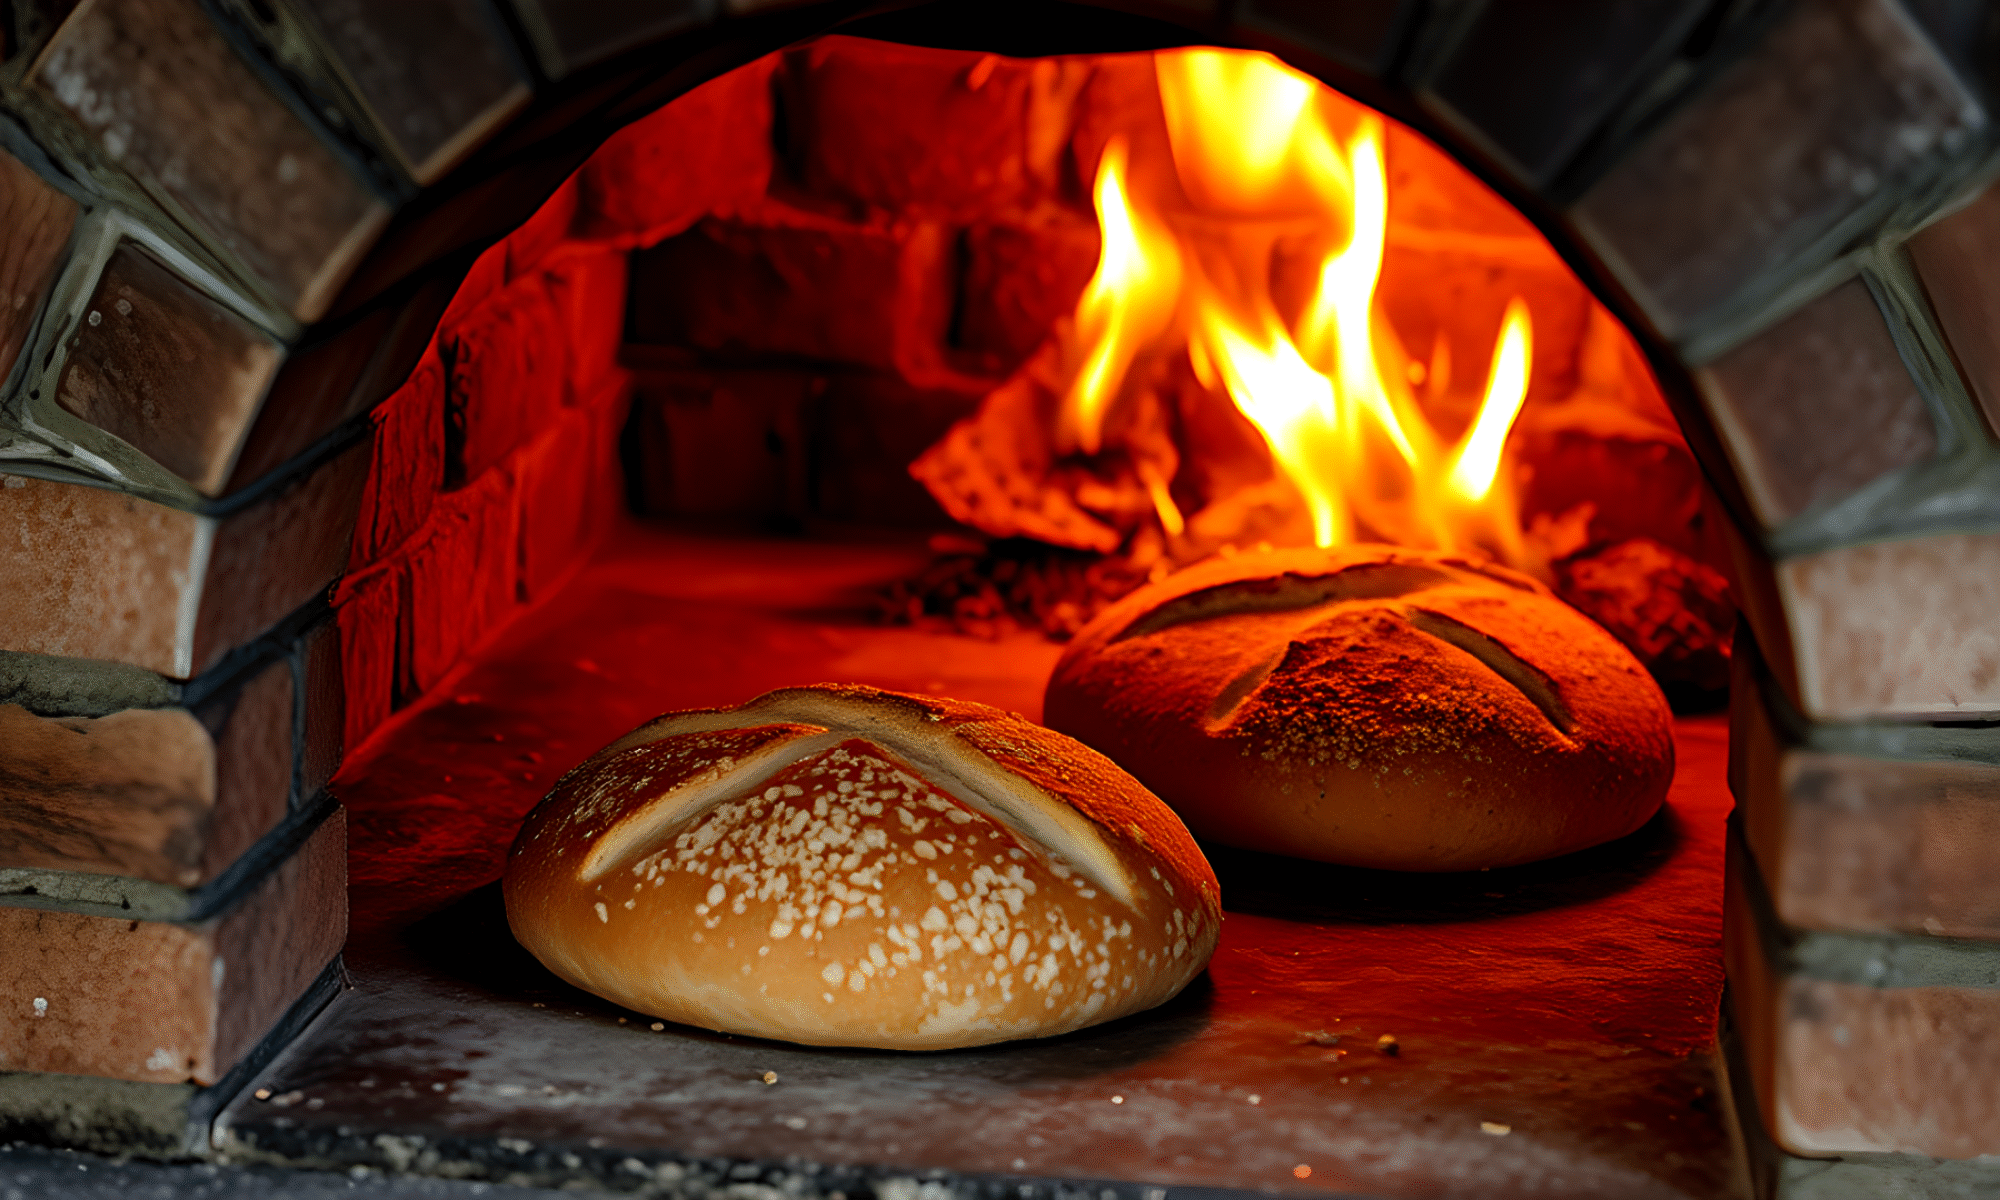

I’ve been baking bread on a regular basis for about three years now, ever since I retired. In that time, I’ve tried all sorts of recipes and formats — some successful, some… well, let’s just call them “learning experiences” and move on.
I love eating sourdough bread, but I’ve never managed to keep a sourdough starter alive long enough to actually make the bread. My starters have had shorter lifespans than goldfish at a county fair. So, I often took the easier route with preferments and commercial yeast. But now? Now I’m feeling brave (or foolish — time will tell). I’ve decided to create my own starter and see how it goes.
You can make your own starter from scratch (like I’m about to attempt) or you can get one from a friend — even if your “friend” is named Amazon. Yep, Amazon sells sourdough cultures up to 900 years old! Which makes me wonder: if it’s been around for centuries, I should be able to keep it alive for at least a week… right?
Advantages of Sourdough
- Better Digestibility
Long fermentation breaks down gluten and some starches, making bread easier on the digestive system for many people (though not suitable for celiac disease).
Natural acids and enzymes even pre-digest some of the carbs — it’s like the bread is doing part of the chewing for you. - Lower Glycemic Impact
Sourdough’s slow fermentation slows starch digestion, so your blood sugar won’t spike as much as it does with regular bread. Your pancreas will thank you. - Improved Nutrient Absorption
Lactic acid bacteria reduce phytic acid — a grain compound that hogs minerals like a toddler guarding candy. This means better absorption of iron, zinc, and magnesium. - Longer Shelf Life Without Preservatives
The natural acidity helps keep mold and staleness at bay, so you get longer-lasting bread without mystery chemicals. - Complex, Rich Flavor
Wild yeast and lactic acid bacteria create flavors commercial yeast could only dream about in yeast school. - Natural Leavening — No Commercial Yeast
Just flour, water, and the magic of nature. Perfect for folks who want “clean label” baking and the bragging rights of saying, “I made it with my own wild yeast.” - Potential Gut Health Benefits
The fermentation process creates compounds that may be beneficial for gut health — even if most of the bacteria don’t survive the oven’s heat, their handiwork still helps.
Quick Comparison Table
| Feature | Sourdough | Regular Yeast Bread |
|---|---|---|
| Leavening | Wild yeast & bacteria | Commercial baker’s yeast |
| Flavor | Tangy, complex | Mild, sometimes bland |
| Digestibility | Often easier due to gluten/starch breakdown | Less pre-digestion |
| Shelf Life | Naturally longer | Shorter unless preservatives added |
| Nutrient Availability | Higher mineral absorption | Lower due to phytic acid |
| Glycemic Impact | Lower | Higher |
What I’m Going to Try
Equipment:
- A clean glass jar (wide-mouth mason jar works well)
- Kitchen scale (because sourdough rewards precision over guesswork)
- Spoon or spatula (non-metal preferred — no offense to stainless steel, but bacteria prefer a gentler touch)
- Loose-fitting lid, cloth, or paper towel with rubber band
Ingredients:
- Whole grain flour (rye or whole wheat are the starter cheerleaders)
- Unchlorinated water (filtered or let sit out overnight if your tap water is chlorinated)
Step-by-Step Process
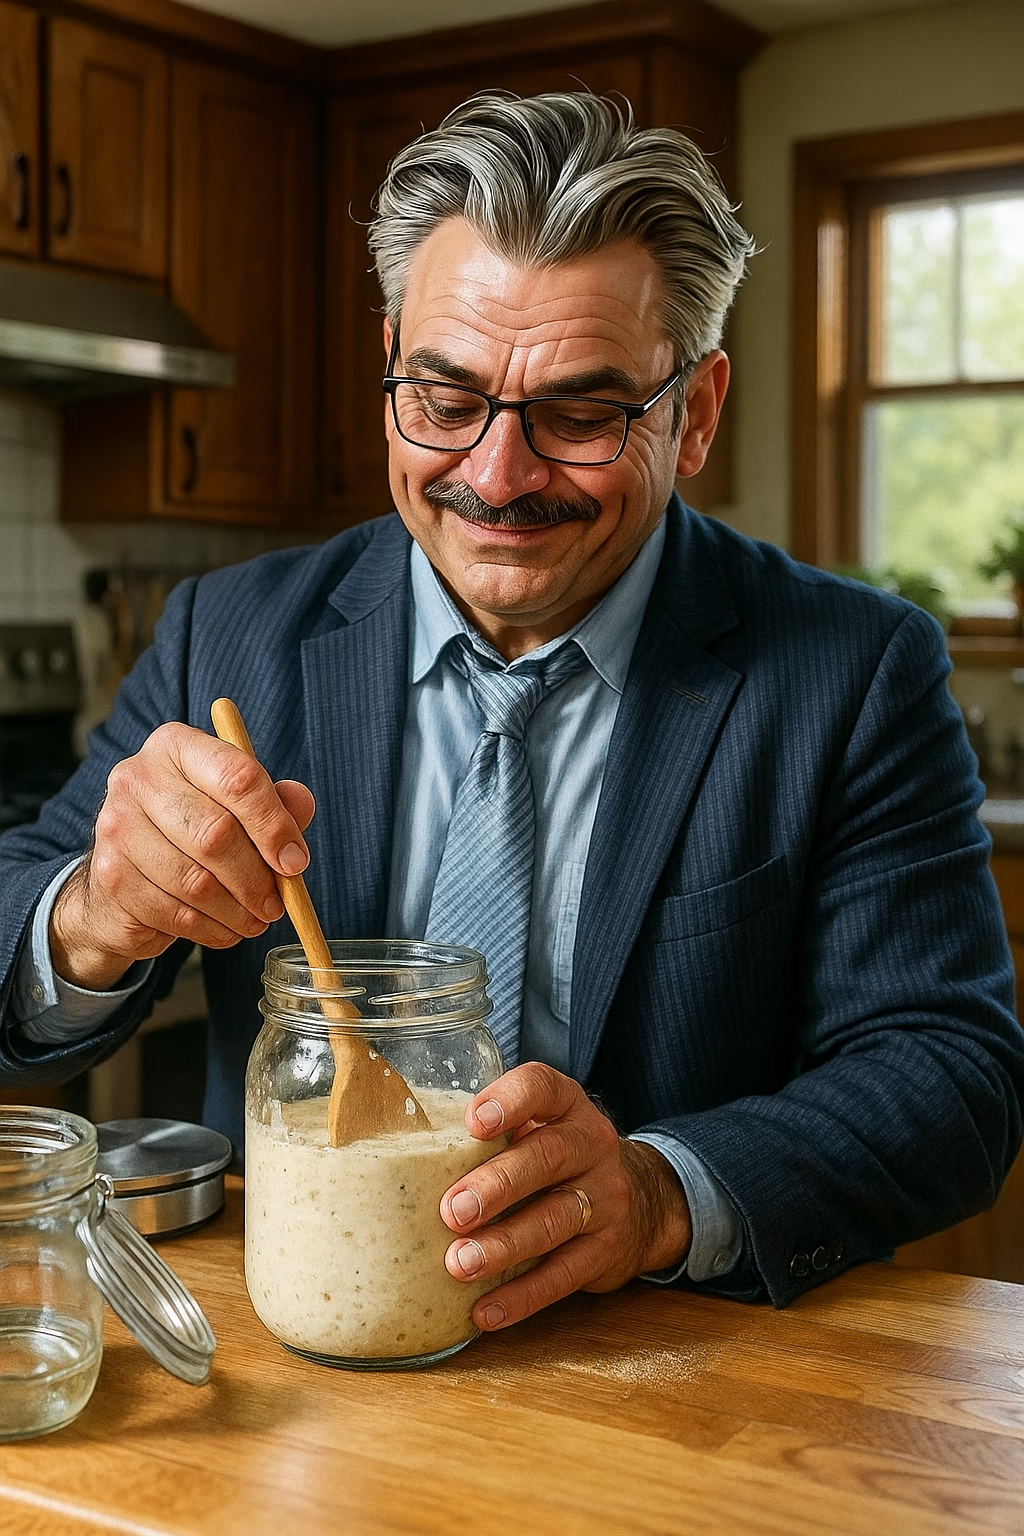
Day 1:
- Mix 100g whole grain flour with 100g lukewarm water in your jar.
- Stir until no dry flour remains. The mixture should be thick but stirrable (think pancake batter, not cement).
- Cover loosely so gases can escape. Keep at 70–75°F / 21–24°C.
Day 2:
- You might see bubbles or notice a mild aroma — or nothing at all. Both are fine.
- Discard half the mixture (sorry starter, it’s for your own good).
- Add 100g flour and 100g water, stir, and cover again.
Days 3–5:
- Feed once every 24 hours if slow, or every 12 if bubbling like a hot tub.
- Always discard half before feeding.
- After Day 3, you can switch to a 50/50 mix of whole grain and bread flour for a milder flavor.
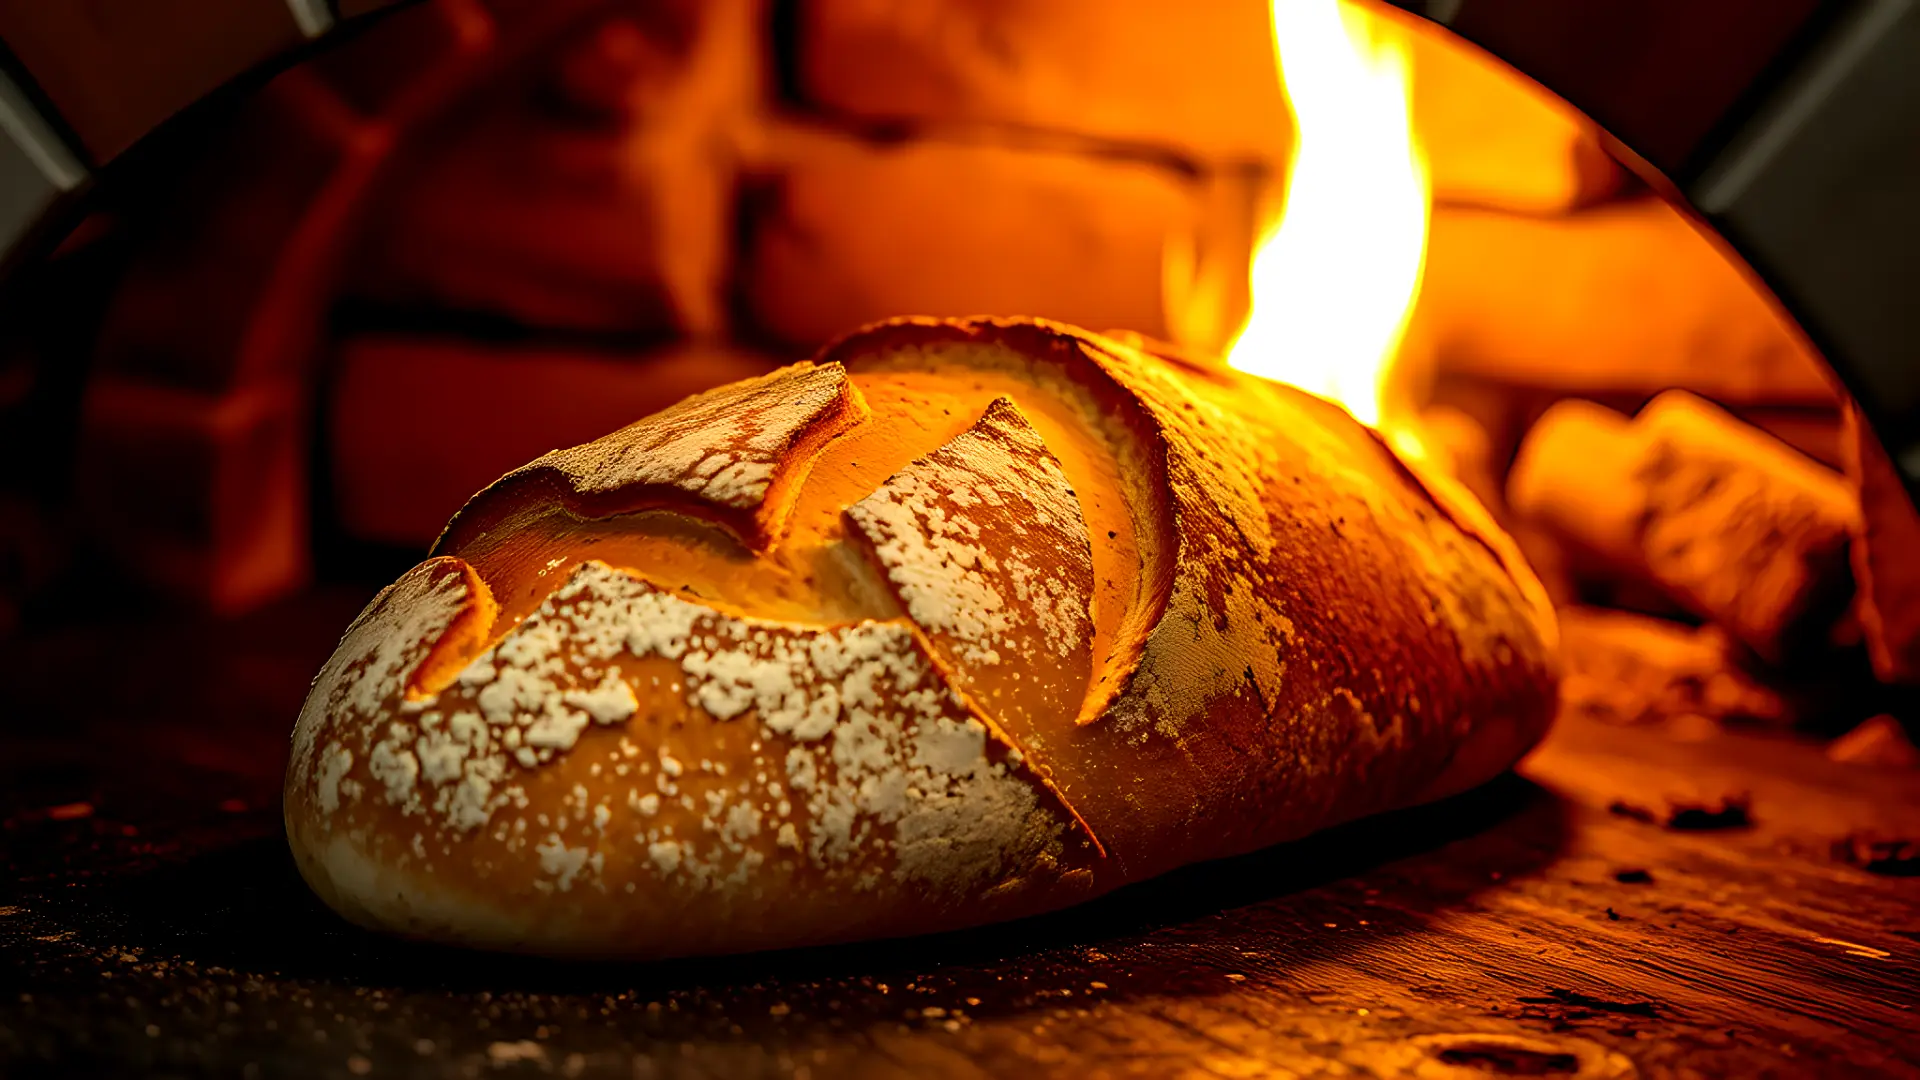
Day 5–7:
- Your starter should double in size within 4–6 hours, smell pleasantly tangy, and be covered in bubbles.
- If it passes the float test (a spoonful floats in water), it’s go-time.
Complications to Watch For
| Problem | Cause | Fix |
|---|---|---|
| No bubbles after 3 days | Cold kitchen, chlorinated water, poor flour | Move to warmer spot (~75°F), use whole grain flour, switch to filtered water |
| Strong rotten-egg smell | Sulfur bacteria early on | Keep feeding — good yeast will win |
| Pink/red/orange streaks | Contamination | Toss it, clean the jar, start over |
| Watery layer (“hooch”) | Starter is hungry | Pour off hooch, feed more often |
| Very sour too soon | Over-acidification | Feed more frequently, discard more starter |
| Rises then collapses | Missed peak | Use at peak height |
| Dry crust on top | Too much airflow | Use a slightly tighter cover or stir crust in at next feeding |
💡 Extra Tips
- Rye flour is like espresso for your starter — it wakes things up.
- In hot climates, use cooler water; in cold climates, use warmer water.
- Once mature, store in the fridge and feed weekly. When ready to bake, feed twice at room temp first.
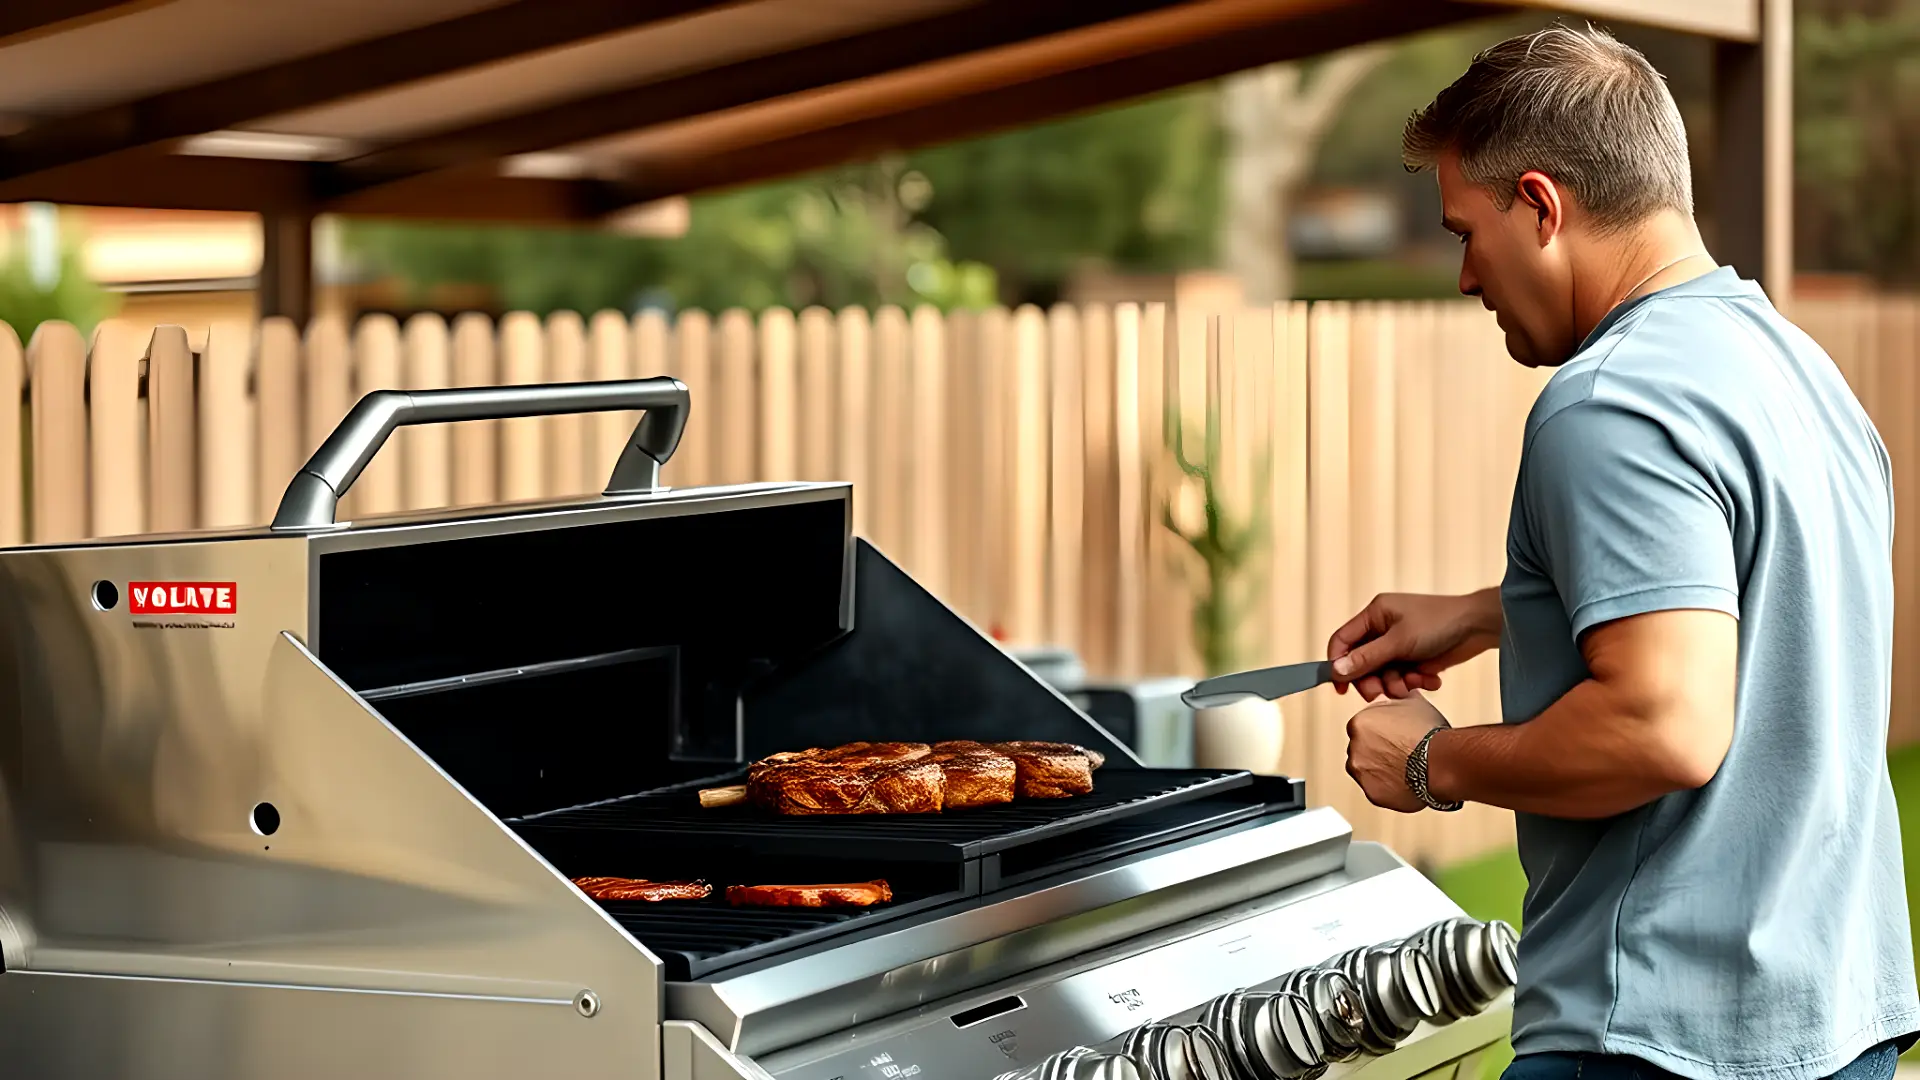
Let’s see where this goes! Worst case, I end up with a science experiment in a jar. Best case? I’ll be eating the tangiest, chewiest bread this side of the barbecue pit.
One thought on “Embarking on a Sourdough Adventure”
After seven days of daily countertop feedings, the sourdough bread came out amazing! I used the whole wheat starter described above and added all purpose flour for dough creation. The result was a great mild whole wheat loaf with exceptional taste. Not quite as tangy as some sourdoughs, but perfect to my tastes. So bake on my sourdough friends! I think the key was in the spring water.